
If you love London, but would prefer to have a partial band bra pattern, stay with me. I will show you how to convert London to a partial band bra in this tutorial. There are a few important things you must do to make the conversion happen correctly. In this tutorial, I will use the London pattern for my example, however the same principles apply when you want to convert London or any full band bra to use a partial band, instead.
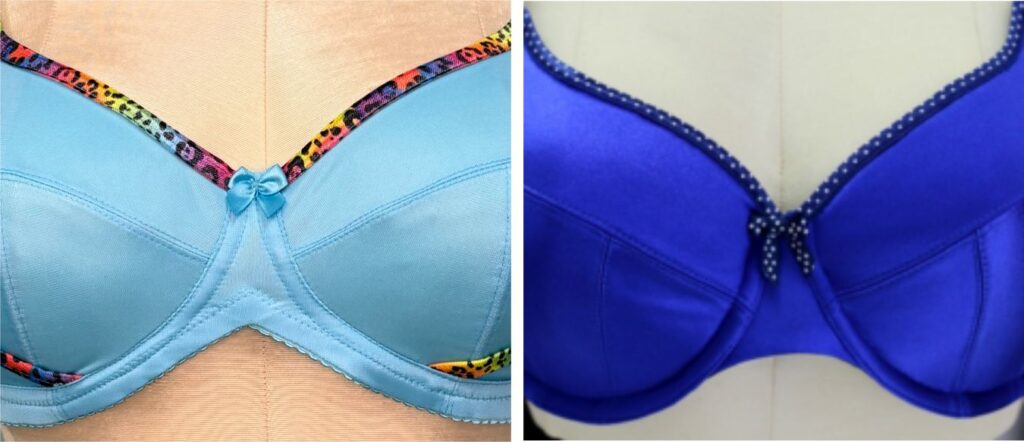
Before we start, you may wonder why you might consider a partial band, such as my Sapphire bra below right, at all. In a full band bra, such as London at left below, you can see the band running under the cups. Whether the band is thin (minimum 3/8” (10 mm) or made longer into a long-line bra, the principal is the same. The band containing the elastic runs along under the cup. Conversely, in a partial band bra, the elastic does not run under the cup. In fact, the underwire is what is connecting the back band to the front bridge. Therefore, a partial band must use underwires, as wires will provide the connection under the cups between the bridge and the band.
So, let’s get on with it…
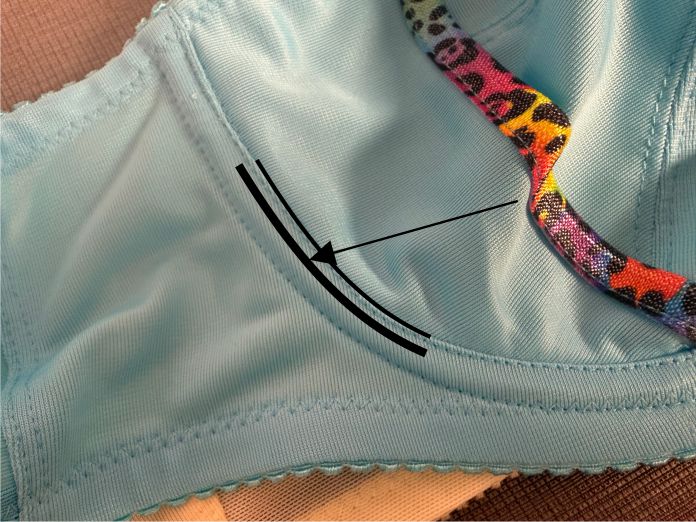
On a full band bra, you can see the wire sits on the frame piece, with the wire line seam positioned inside the wire. On a partial band bra, however, the wire sits on the cup pattern piece, and the wire line seam is outside the wire. Yet in both bras, the wire sits in exactly the same position on the body – that is at the edge of the breast. Any conversion you do from full band to partial band must leave the wires in exactly the same position on the body, otherwise neither the frame nor the cup will fit correctly.
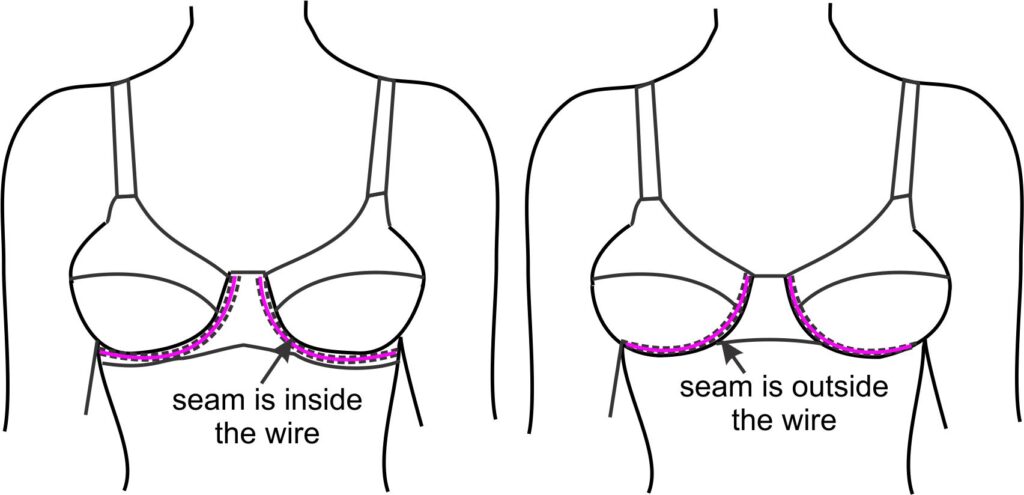
So it is clear that we while we must keep the wire in the same place on the body, the seamline must move outside the wire. So, in essence the cup will need to get larger around the perimeter. By the same token, the frame “hole” has to get larger to accommodate the larger cup.
Once you understand the concept explained above, the actual draft is relatively easy. Add the width of the channeling – as narrow as 6 mm or as wide as 11 mm – plus an additional 2 mm to the cup wire line to move the seamline outward. What is the additional 2 mm for? It is the space between the actual seamline and the wire inside the casing. Think of it as “turn of the cloth” allowance, even though technially that is not what it is.
When you convert London or any full band bra, you need to measure the width of the channeling carefully, because if you guess, even that extra 2 mm won’t give you accurate results. I measured mine at 9 mm + 2 mm = 11 mm. I need to add 11 mm to the wire line of the cup. Yours may be wider. Never mind taking off the seam allowance of the cup – just carefully add 11 mm all around the wire line of the upper and lower cups as shown here. This will push the seamline out where it needs to be. Of course, please don’t mistake the cross cup seam for the wire line – it is only the wire line that needs changing.
Changing the frame is not difficult either, but you do have to wrap your head around the theory a little bit. Draw a line around the wire line ¼” (6 mm) away (thus making the “hole” for the cup larger to git the new larger cup) 
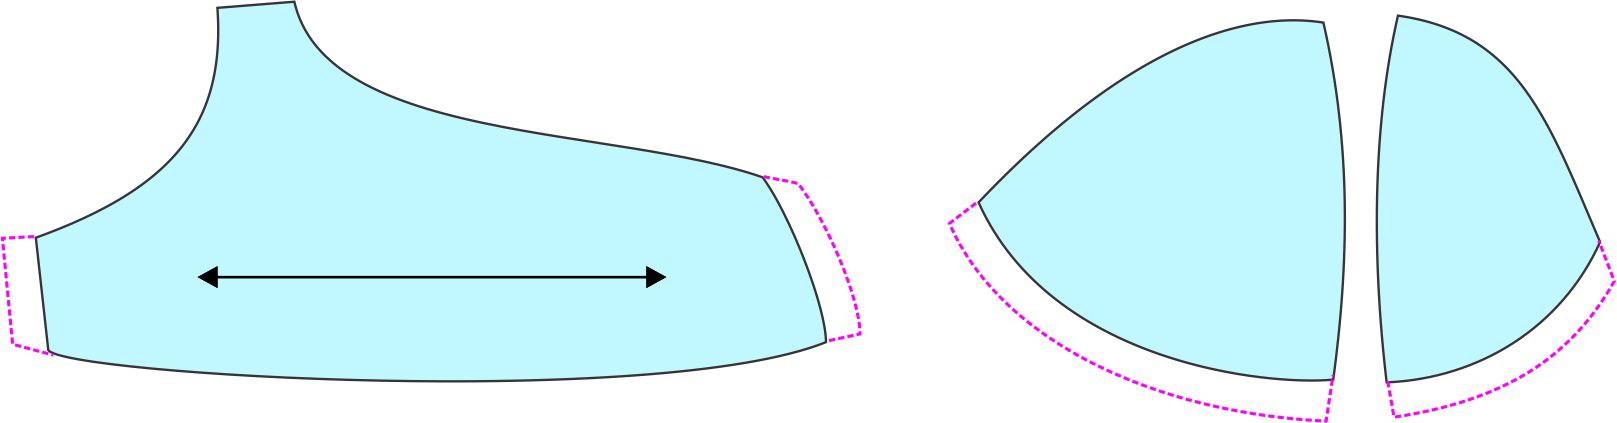
Imagine a line approximately even with the bottom of the breasts. Drop a line the same length as the width of the bottom band elastic from where that line intersects with the new wire line, then go back toward the hook and eye, blending the curve along the bottom edge as shown. To draw the bridge, draw a curved line to form the bottom of the bridge at the front, and add a 1/4″ seam allowance to the bottom edge.

The bridge is made narrower by the ¼” seam allowances on each side of the existing bridge, and the style line of the bottom is drawn from across the bridge, starting at a point not quite even with the bottom of the breast. This removes the band from under the cups. The lower drawing is what the final pattern pieces should look like.
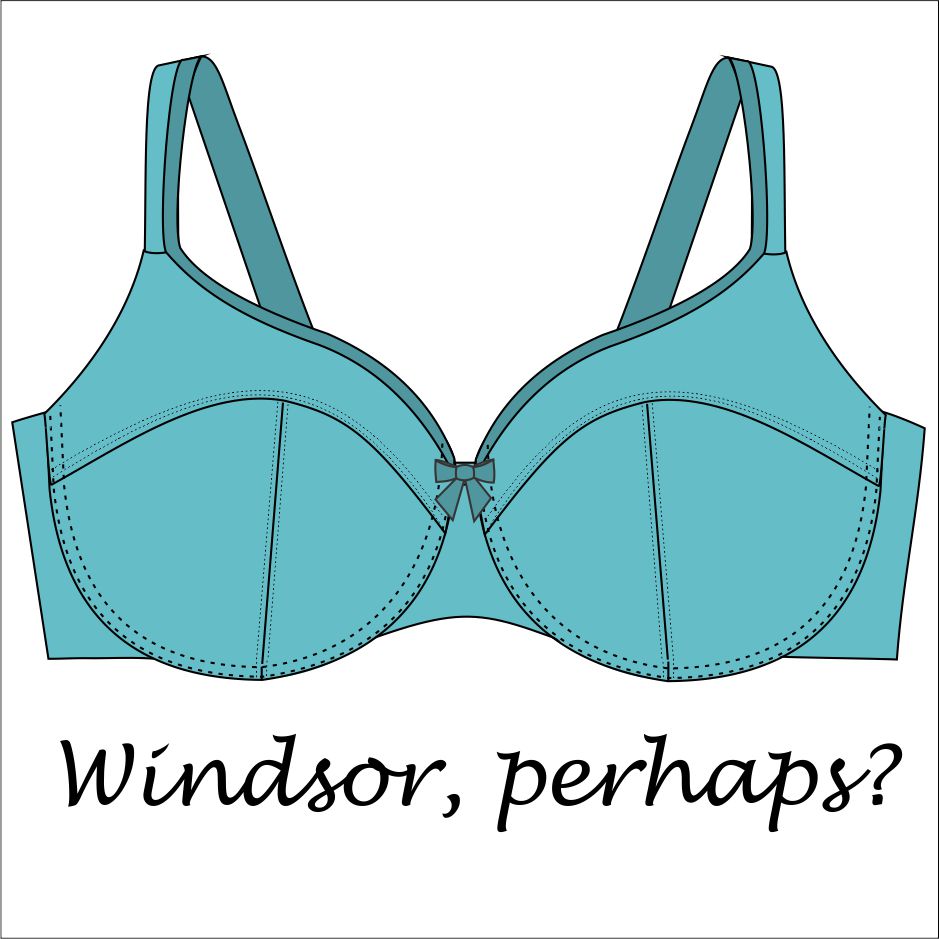
If you do try to convert London, please let me know how you make out with it. I’d love to see what you create! Will you call it London…or does it deserve a new name, such as (perhaps) Windsor?