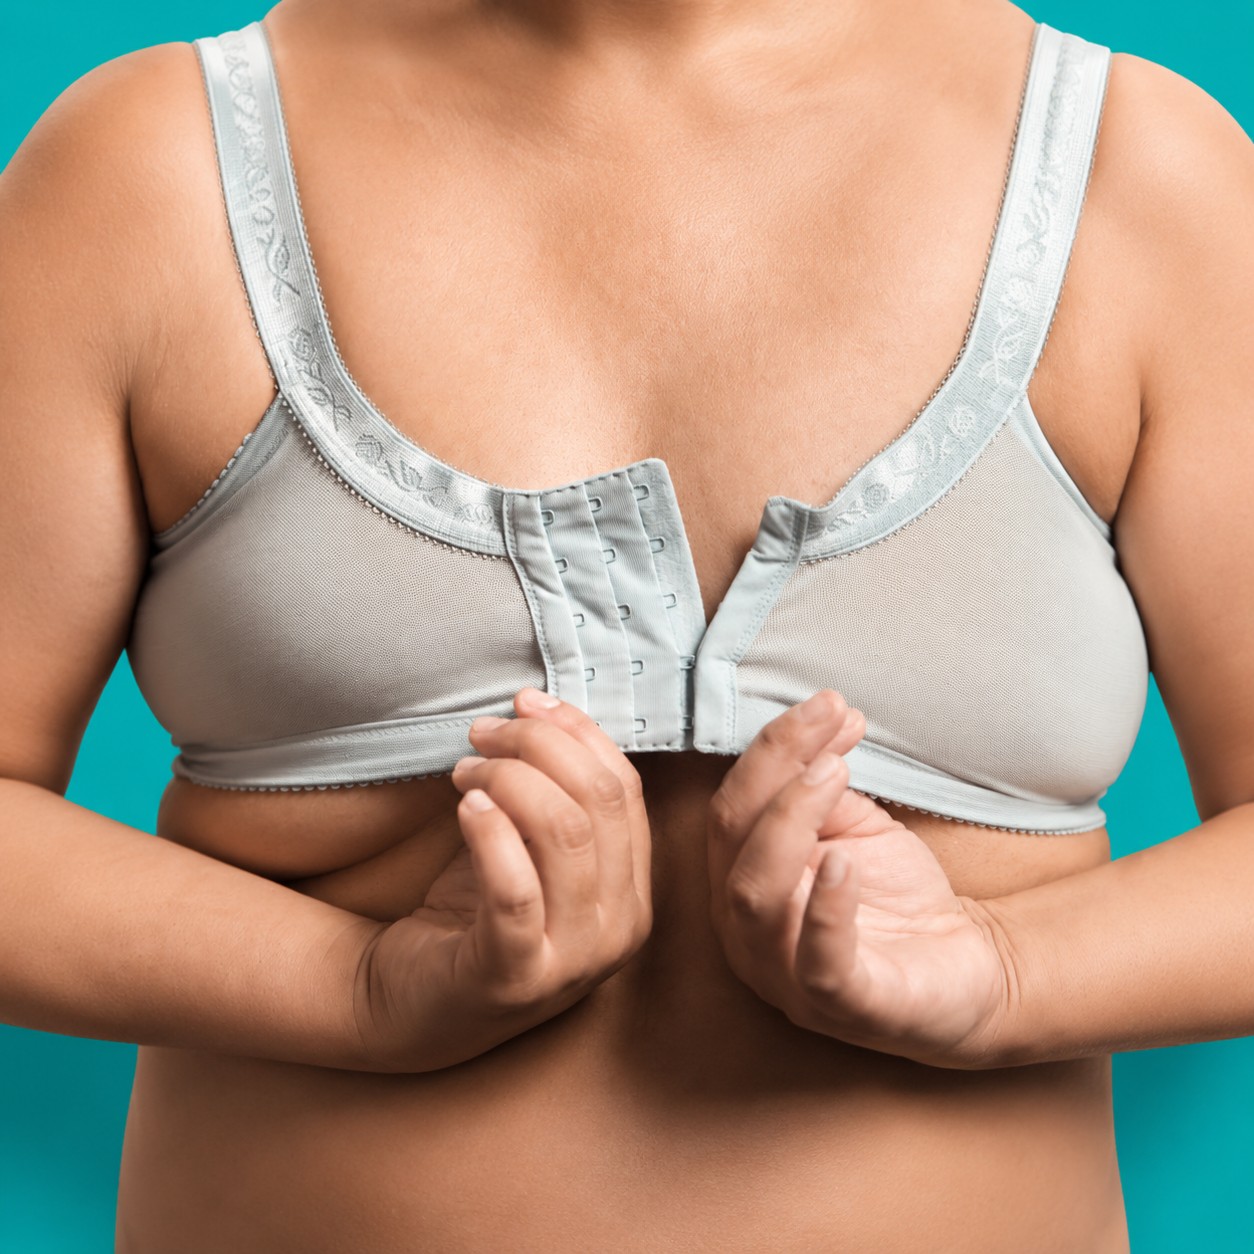

There’s something magical about a beautifully scalloped lace edge. It instantly gives a handmade bra a more luxurious, professional finish while eliminating the need to apply elastic along the neckline.
If you’ve ever wondered how to use lace edging on the upper cup of the London Bra, you’ll be pleased to know it only requires one simple pattern modification. Once you’ve done it once, you’ll find yourself reaching for your favourite lace every chance you get.
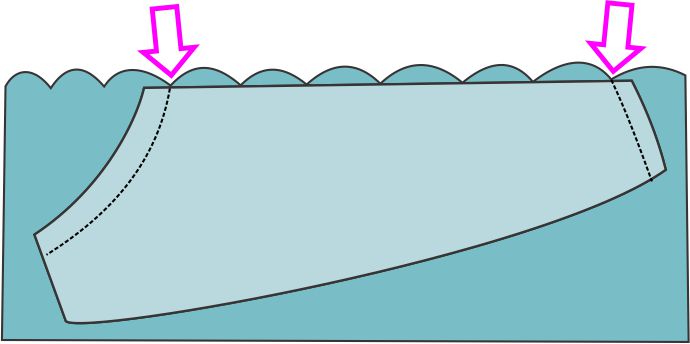
The London Bra includes a strap tab extension at the shoulder where the strap is attached. Because the neckline curves upward into this extension, the lace can’t simply be laid along the top edge. but this technique applies to any upper cup that has a strap extension that looks similar to this below.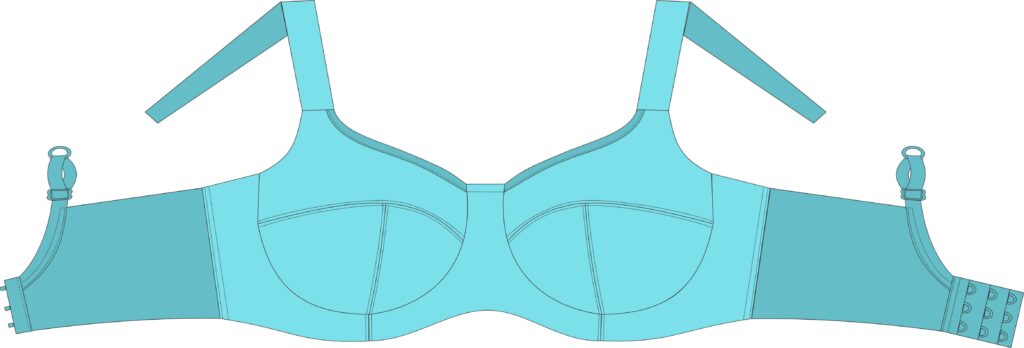
Instead, we’ll create a straight neckline that allows the scalloped edge of the lace to become the finished edge of the cup.
Begin by tracing your upper cup pattern piece. It doesn’t matter whether you’re making a Partial Band or a Full Band bra – the modification for using lace edging on the upper cup is exactly the same.
Mark the neckline seam allowance. HOWEVER – The London doesn’t have a seam allowance along the neckline edge, as this pattern was designed for Fold-over Binding. On any other pattern except the London, this is 1/4″ (6 mm) below the cutting line, but it might also be 3/8″ or 10 mm. Check your pattern to be sure
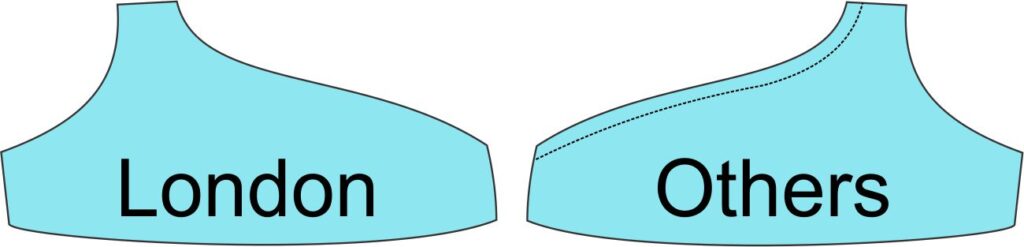
Using a ruler, draw a straight line from the centre front seamline across to the underarm edge.
Don’t worry if your line sits slightly above or below the original neckline. It also doesn’t matter if you use a line similar to the purple line or the pink line, or even one a little different than shown below. The important thing is that it creates a straight edge for positioning the lace. This simple adjustment is the secret to achieving a smooth, professional-looking lace neckline.
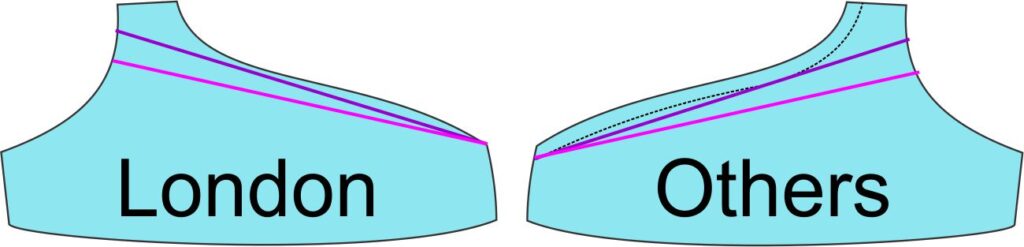
Now comes the fun part!
Lay your lace over the new neckline so the scalloped edge becomes the finished edge of the bra cup. And before you ask, when you are working with lace edging on the upper cup, you have to ignore the DoGS and position the valley of the lace along the edge you drew.
I usually like to begin the lace repeat 1/4″ (6 mm) in from the centre front edge. If the lace pattern cooperates, I also try to have another attractive point of the scallop finish right at the underarm seam line, which is usually 3/8″ (1 cm) from the underarm curve. It isn’t always possible, but when it works, the results are especially pretty, and I feel good inside when that happens!
If you’re making a smaller cup size and your lace feels soft against the skin, you can simply cut your upper cup from the lace and continue sewing your bra as you normally would. But, if you’re sewing a larger cup size—or your lace feels even slightly scratchy—I highly recommend adding a lining.
A layer of sheer fabric or sheer cup lining provides two important benefits:
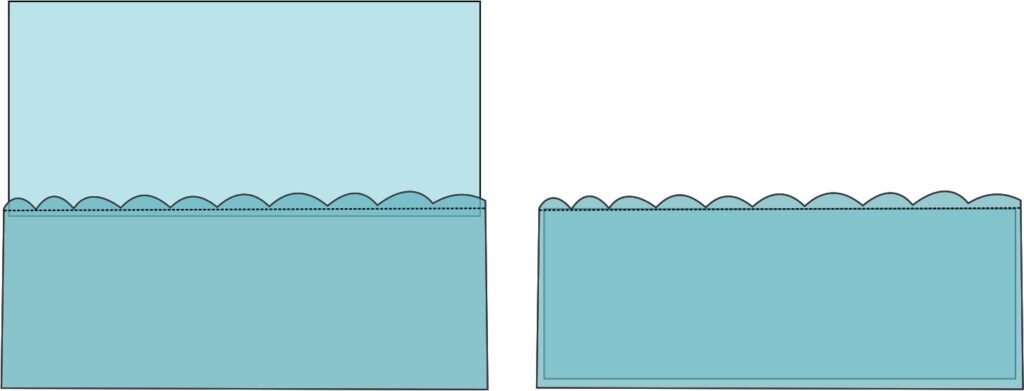
Place the lining right side up, then position the lace right side up on top, allowing the lace to overlap the lining by about 1/2″ (12 mm).
Stitch through both layers using a straight stitch.
Now fold the sheer lining to the wrong side of the lace and press gently. This neatly hides the raw edge while creating a beautifully stabilized neckline.
Place your modified upper cup pattern over the prepared lace and lining and cut out the cup, making sure to line up the valley of the lace with the seam line.
Once cut, baste around the outer edges using a slightly longer straight stitch to hold the lace and lining together. From this point on, you can treat the two layers as one while constructing the rest of your bra.
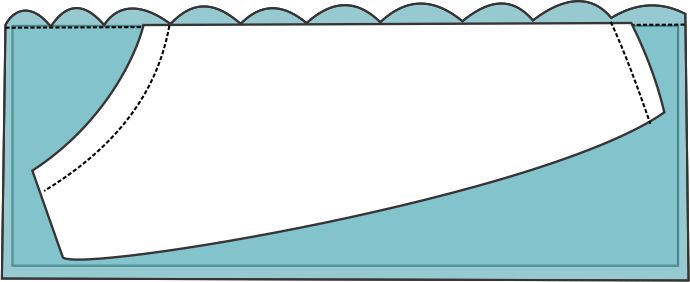
Whenever you’re using lace edging on the upper cup, take a few extra moments before cutting to slide your pattern along the lace. You may discover a much prettier placement of the scallops or floral motifs. Those tiny adjustments often make the difference between a lovely bra and one that looks truly couture.
Like so many techniques in bra-making, a little planning before you cut can make all the difference.