
So, making your own underwired bra feels a bit much, doesn’t it? Honestly, though, if you’ve got some basic sewing skills and a machine at home, it’s absolutely doable to sew an underwired bra. This particular type of garment requires a different approach than, say, whipping up a dress, but the payoff is seriously huge.
What you get is a bra that fits just right, feels amazing to wear, and doesn’t break the bank compared to buying one off the rack. The main thing to grasp is that bra making is a whole different ballgame from regular garment sewing. Forget about a lot of fancy stitches; you’ll be working with straight stitch and zig-zag stitches and sew the underwired bra and apply elastic in some super specific ways. Oh, and getting that fit precise, plus using quality materials, makes all the difference in comfort and longevity.
Before you even think about starting on that underwired bra, you absolutely need to round up some specialized items your usual fabric store probably won’t carry. We’re talking things like underwire casings (called channeling), and then a good quality, low-stretch fabric for support, like duoplex, microduoplex or simplex for the cups and the frame and powernet or a similar firm stretch fabric for the back band. Don’t forget your other findings such as the elastics for the top and bottom band, the straps and the neckline, the actual underwires (the ones that fit you, mind you), and some rings and sliders to adjust the straps. Oh, I almost forgot the hook and eye fastening for the back!
Measuring yourself properly is non-negotiable here; really, don’t just rely on what size you typically grab in the shops. Get a snug measurement right under your bust to get your Rib Cage Measurement. Then to determine your Bottom Cup Depth measurement , measure from the base of the breast , following the curve to the location of where the nipple “should be”. In a perfect world, the nipple should be somewhere along the seam that crosses the bra horizontally. You’ll find a fantastic post here that walks you through finding your BCD size..
Picking the right pattern is also a huge deal. Maybe try starting with a basic style, such as the London bra. The London is a whole class that includes the PDF patterns and detailed instruction, plus over 4 hours of video lessons. Another bra pattern that is beginner-friendly is the Pin-up Girls Classic, but this is a paper copy that needs to be shipped to you.
First off, you’ll tackle the cup and frame construction – this is where you transform flat fabric into those awesome 3D shapes. Start by joining the frame sections with accurate 1/4″ seams, pressing the side seam to the front frame and topstitching. Now sew the cups, pinning so you get those two pieces to start and end together. Press gently to keep those curves nice and smooth. Then, you get to sew the cups into the frame and that’s when the whole bunch of pieces your started with begins to look like a real bra!
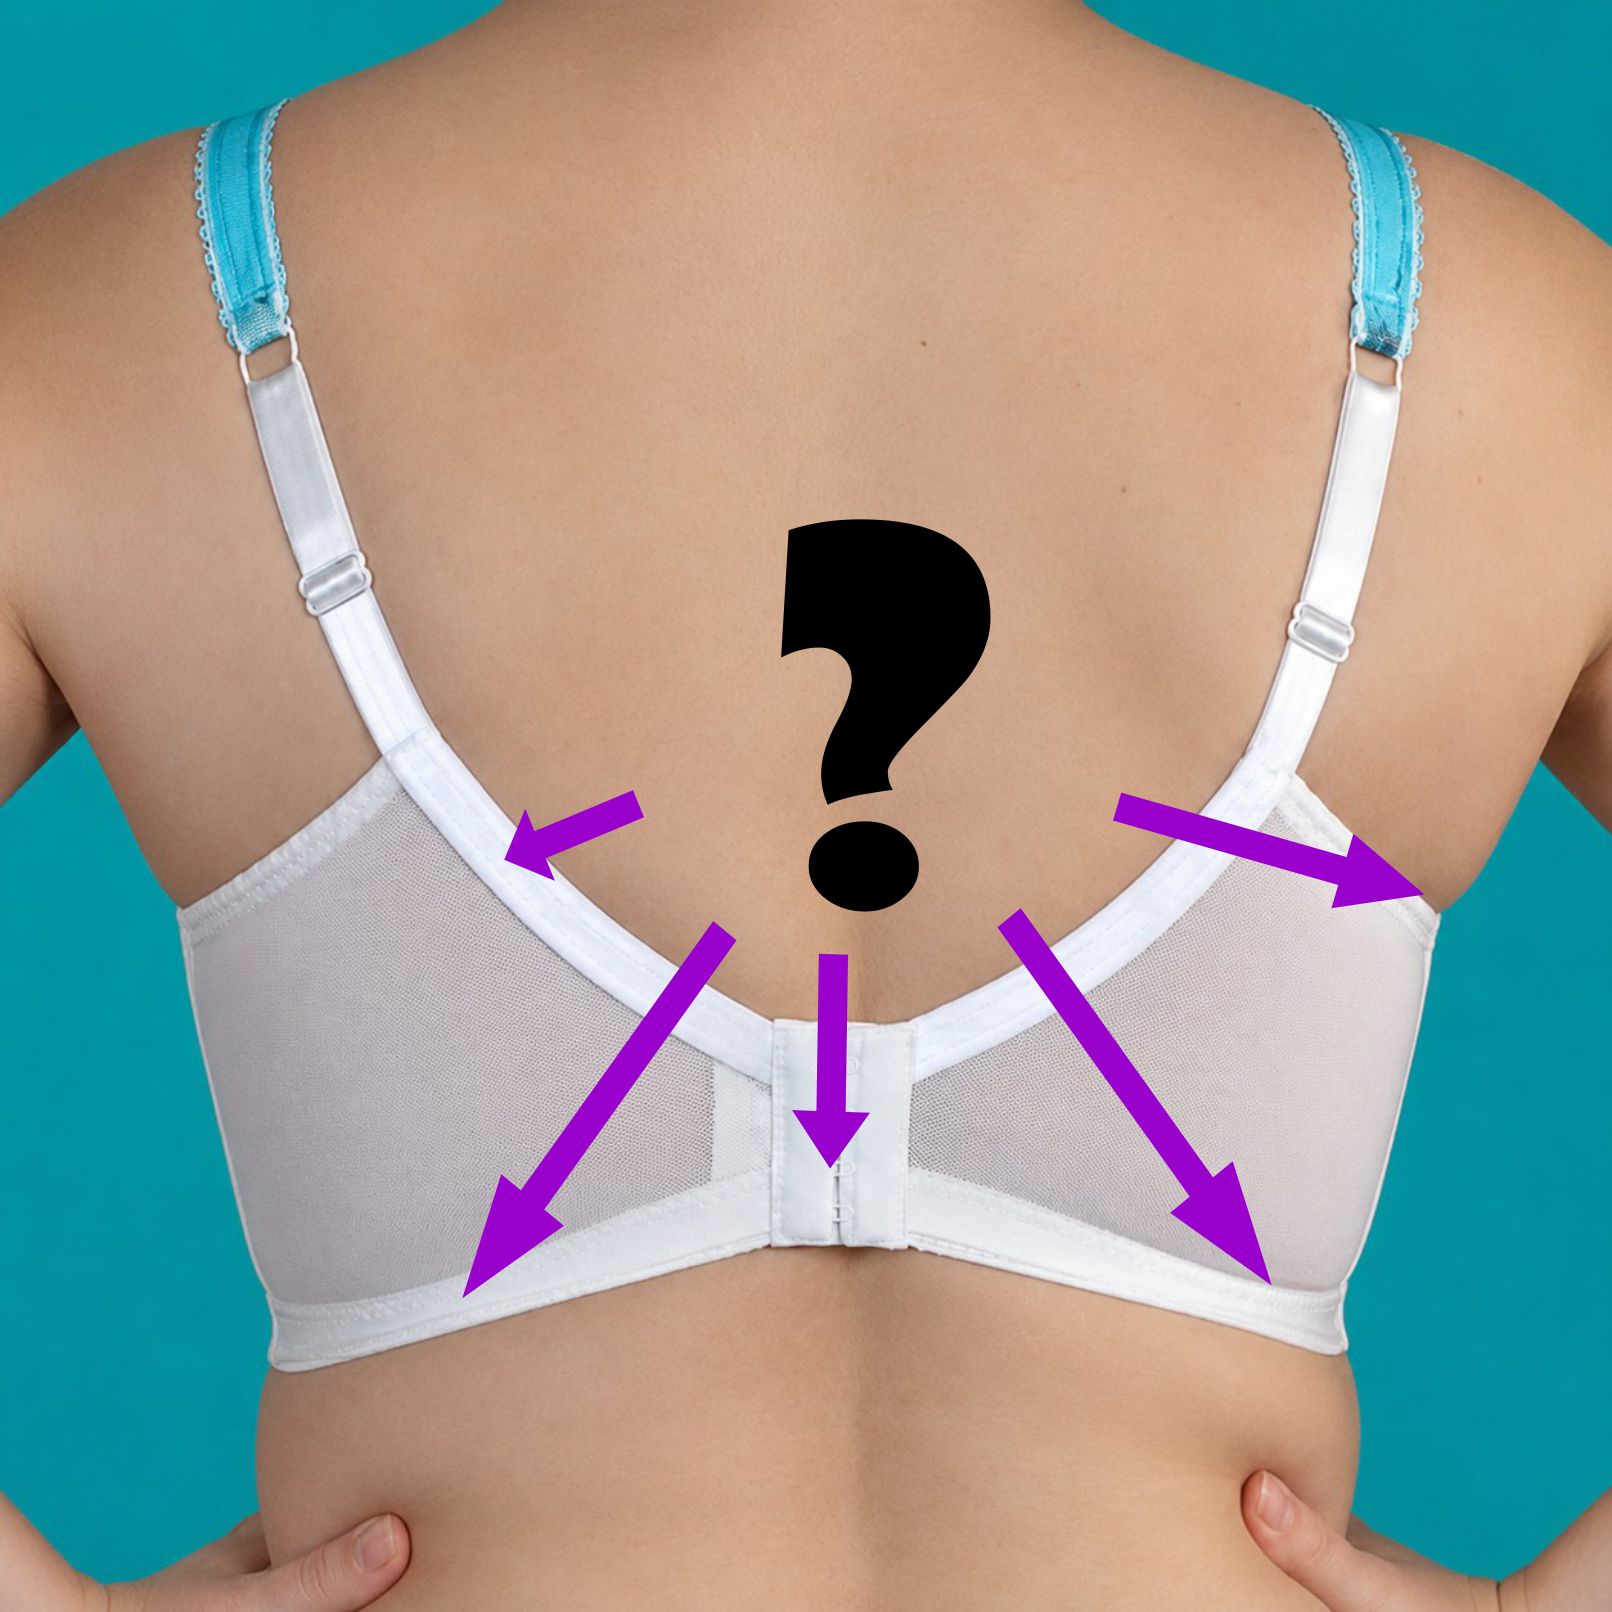
Applying elastic is a whole other challenge because you’re stretching it in totally different ways than you would for, say, a waistband on a pair of pants. Band elastic is not stretched as you sew it on, and that makes the sewing part fairly easy, but as I always say, you have to show that elastic who’s boss! That means holding it taut as you sew and not let the elastic stretch the fabric under it.
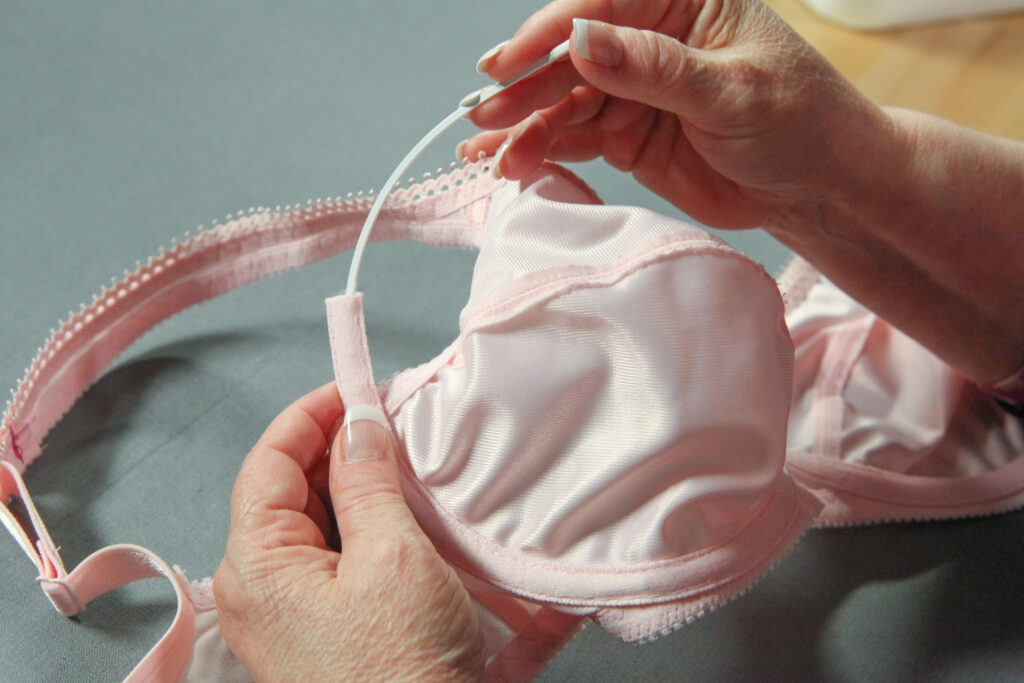
Now for the underwire casings. Channeling is actually sewn three times; the first pass is to sew it on, and the other two times is topstitching around the inner and outer edges. It really does need careful and accurate stitching, otherwise, that wire is going to be a real pain to slide into the channeling. The underwire absolutely needs to slide in smoothly into the tube without getting caught between the two lines of topstitching.
Can I use just any fabric for making bras?
Honestly, no. Regular fabric just won’t have the stretch, the right kind of support, or the recovery an underwired bra really needs. You have to use specialized stuff like power net, duoplex, or other intimate apparel fabrics – those are the only ones that actually give you proper support and comfort. Quilting cotton or silk? They just won’t cut it for everyday wear; they simply won’t last .
How do you figure out what underwire size to get?
Your underwire size can be found by printing a to-scale underwire drawings like the ones on my site here, then cutting inside the curve to resemble a real wire. Hold your arm in the air and slide the circle underneath. There should be no gaps and the paper or cardstock should not tear from being forced around the naked breast. The important thing is that the wire should follow the natural curve of your breast without digging into your armpit.
What’s the hardest part for new sewers?
Transforming flat fabric into those 3D cup shapes is usually the trickiest bit. Just take your time with matching up those notches and pressing everything really carefully. Plus, a lot of beginners get stuck on elastic tension – it just takes practice. Definitely work on scraps to get that consistent stretching technique down.
Do I need a special sewing machine for this?
Not really, no (but don’t let that stop you from buying one!) While a fancy one might make some things a bit easier, a standard sewing machine with reliable straight and zig-zag stitches and good tension control will work perfectly fine. A walking foot is definitely a nice-to-have for elastic, and just make sure your machine can handle a few layers of fabric without skipping stitches. What you do need is the right needle type and size for your fabric. Duoplex requires a stretch 75/11 needle while Simplex and Microduoplex may take a Microtex 80/12 needle. Test to be sure.
How long does it typically take to sew a bra?
For your very first bra, plan on needing probably the best part of a day, most likely spread out over a few separate sessions. That includes all the cutting, and careful construction and elastic application. Once you’ve made a few, it’ll go way faster, but rushing just messes up the fit and construction, so seriously, take your time with it. As I like to say…savour the process!
Is there anyone who can help me?
Absolutely! You may want to make your first bra in a local class, usually held in a sewing store. Check with them to see if they offer these classes. You might also want to watch my online Craftsy class on beginner bra-making called Sewing Bras: Construction & Fit. This class goes into great depth about the process step-by-step. You might also want to join my private Facebook group, where women from all over the world help each other with fitting, sewing and other bra-making related advice.
Finishing your very first underwired bra really is a big accomplishment in the sewing world. And learning all these specific techniques? It just opens up a whole new realm of intimate apparel making. It’s definitely a challenge, but that feeling of wearing a perfectly fitted, handmade bra makes every stitch totally worth it. Just remember, bra sewing gets way better with practice. Your first one might not be totally perfect, but you’ll learn so much about fit and what you prefer from every project.