
My newest pattern is a small part of a Master Bra-making Class about support. But while support options such as a power bar and sling can be decorative and use contrast fabric, I know once you have made any of the Views of London, you will want to be jazzing it up a little, am I right? That’s where Sheer Cup Lining – the Wonder under between your fabrics comes into play.
When you choose fabrics for a bra, it is usually best choose low-stretch knitted fabrics such as Duoplex, Simplex, Nylon tricot and Sheer Cup Lining for the most support. These are great fabrics to use; they have mechanical give in one direction (as opposed to stretch created by the addition of spandex). They are easy to cut and to sew, and easy to care for. What’s not to love?
The only downside I can think of is the limited colour range and/or the fact that they are solid colour (usually white or black) and no prints. What can you do about that? Well, you could:
Or…drum roll please!
You could absolutely use Sheer Cup Lining as the layer under whatever fabric you choose! By adding a layer of Sheer cup Lining, your fabric will only stretch as much as the Sheer Cup Lining (which is very little in the crosswise and not at all in the lengthwise). This is great news, except….most knitted fabrics with the cute prints you want to use have a tendency to bag out if the Sheer Cup Lining and the knitted cover are treated separately
You can make the bra and pin out the saggy baggy area, or you could use a fusible web to treat the Sheer Cup Lining and your chosen fabric as one during the construction. here’s how I used that combination on a recent make.
A hundred years ago, (or thereabouts) my friend Noreen gave me a piece of leftover fabric of hers that I fell in love with. it had many different printed flower colours scattered over a stretch mesh. The problem was, it was very stretchy.
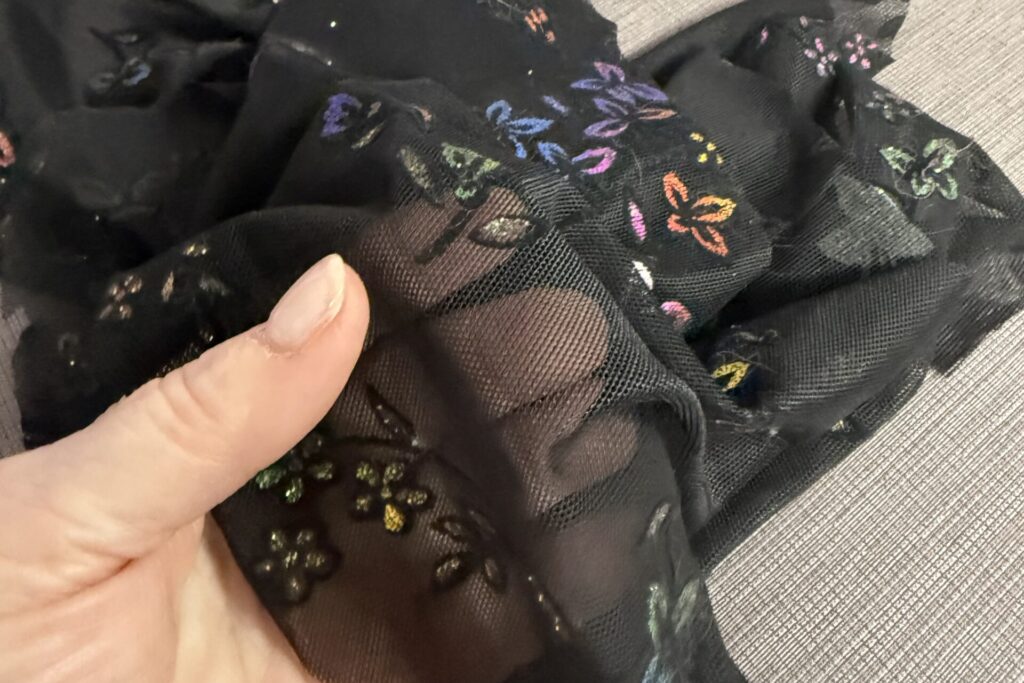
That’s where Sheer Cup Lining came to the rescue. I used a fusible web between the sheer cup lining and the stretch mesh. here are the layers stacked. Apparently you can buy the fusible web in black too, and I would have done that, but, alas, it was New years Day and the ONE fabric store within a two hour drive was closed for the day. i did a test fusing, to be sure the white melted completely and the resulting fabric wasn’t too stiff.
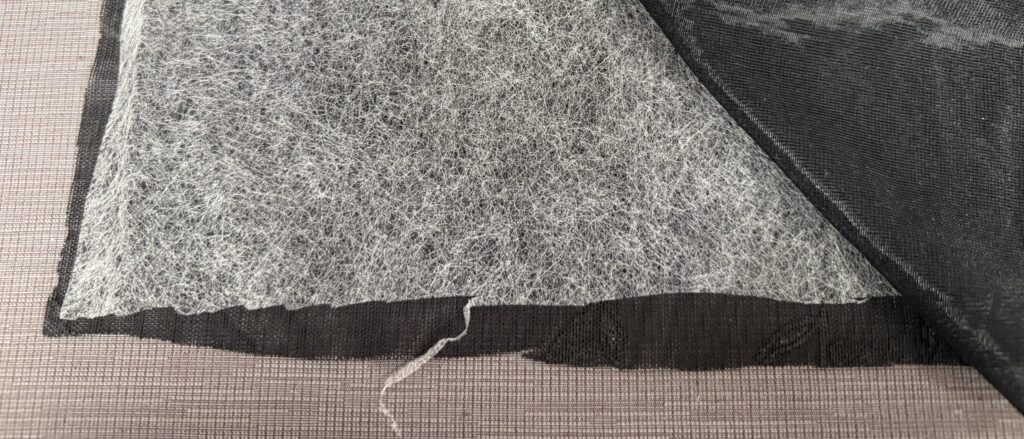
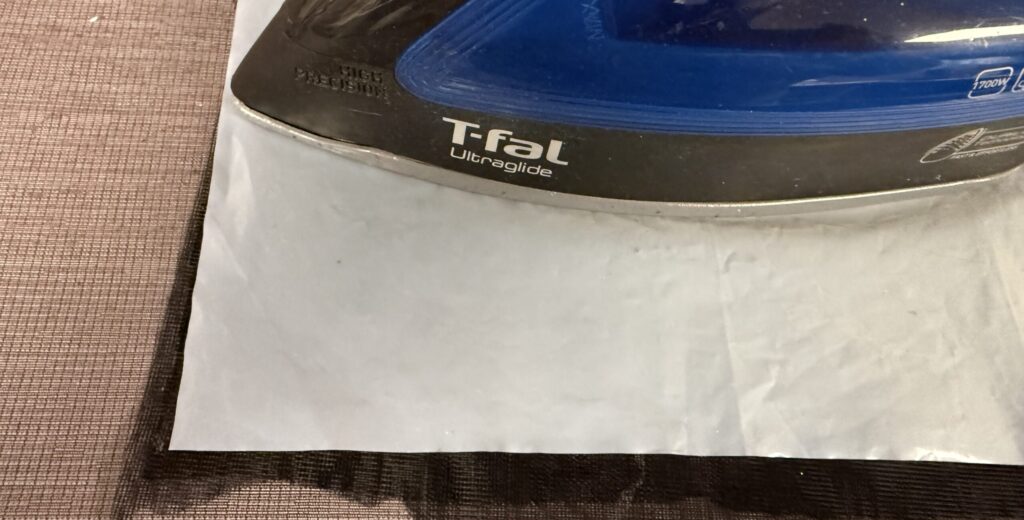
Of course, safety first. use an applique pressing sheet over the sandwich of chosen fabric, fusible and your sheer cup lining. The rules for fusing are that layer them with the most fragile on the bottom, and the least fragile as the top layer. In my case, the mesh is definitely the more fragile of the two. I didn’t want those lovely coloured flowers to melt from the heat. On the bottom it goes!
Lets’ have a look at it after fusing. I should have taken a photo of the cloth after fusing, but I was in a hurry to cut it out. It cut out like a dream, mainly because it was now one piece of cloth to deal with, but the added body made it easy to work with. It was not at all stiff, which is what I kind of expected, so I was pleasantly surprised. My rotary cutter did not even snag once! It is almost as sheer as the original – not quite because of the sheer cup lining layer, but sheer enough for what I wanted.

Here’s a video with the finished results