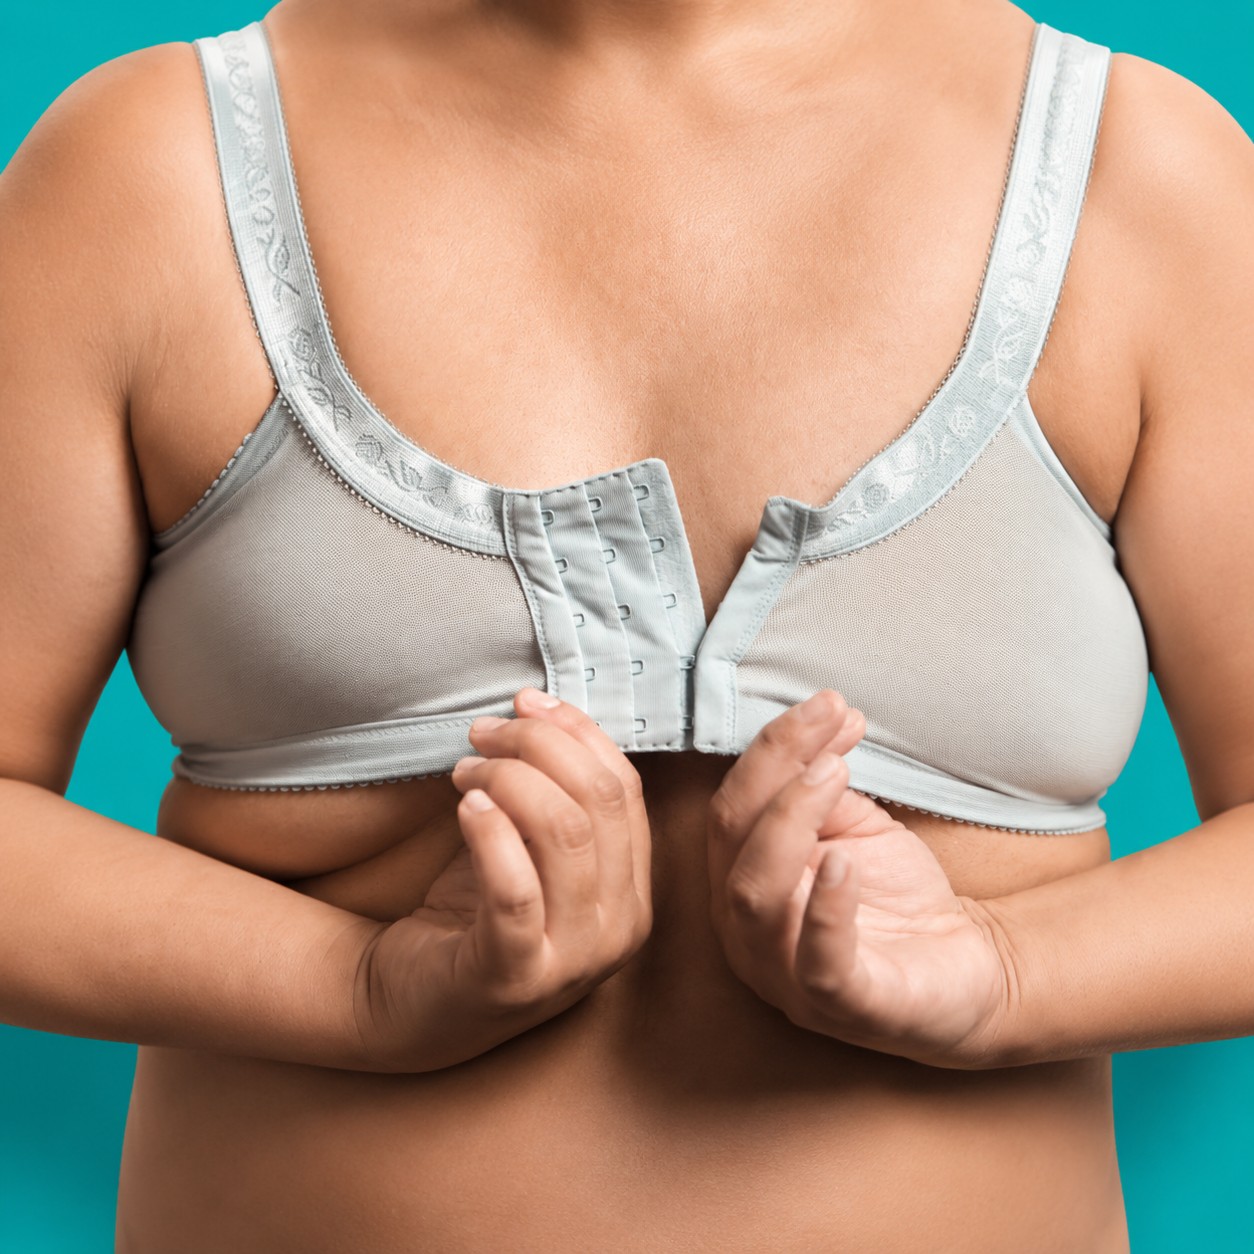
You’ve made your new bra, and you put it on excitedly. It fits! Yet, when you wear it for more than a minute, and move your arms around, suddenly there it is. Something is itchy. Scratchy. Poking. An itch that you probably cannot reach to scratch. A poking sensation that won’t go away. If you have experienced that annoying mid-back itch, you know exactly what I am talking about. Itchy Bra Back Hooks and Eyes.
The source of the problem is the hooks and eyes themselves. And not both halves. It’s almost always the eye part of the hook and eye, because that’s the side that actually touches the body. The hook part goes on top of the eyes, so it doesn’t usually have a chance to rub.
In the factory, bra hooks and eyes (“H&E”) are cut from a continuous tape with what amounts to a hot knife. The process cuts and seals the ends by literally melting them so they can never fray. However efficient that process might be in the factory (83 hooks and eyes per minute!), it leaves us with a very sharp, heat-sealed edge that digs in just the wrong place—in the middle of the back. You can see that sharp edge here.
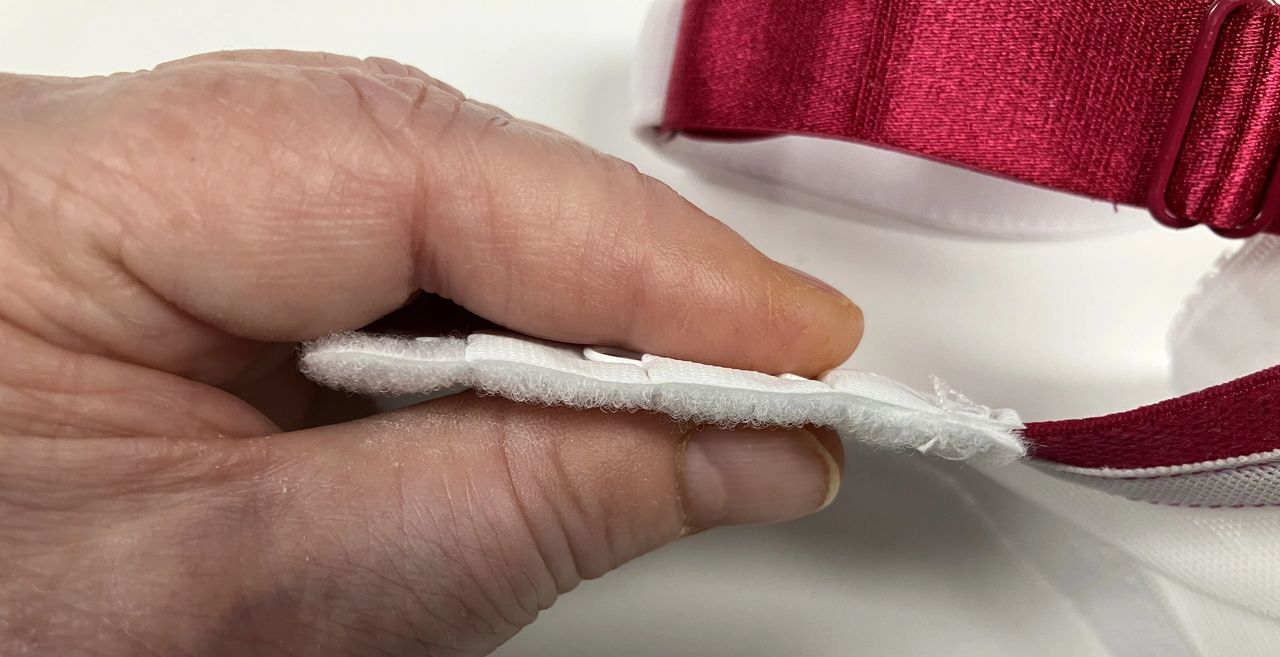
There are at least 3 (now up to 5) ways to stop the itch. They are easy to do and actually work. The first method is for those who don’t sew (can you imagine such people exist?), or could be a solution if you have clients with severe allergies. The solution is called a “bra strap sleeve” or a “bra strap cover,” an amusing name in itself, as we all know that this cover is not for the strap at all but for the band. (Straps run over the shoulder; the band runs around the body). From the image, you can see it is a piece of cloth with a Velcro strip attached, so it wraps around the offending hooks and eyes like a sleeve. This is available for purchase, but we could easily make this ourselves out of a soft cotton knit or flannel.
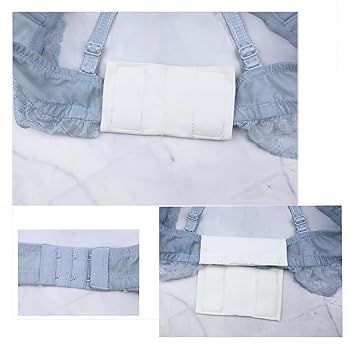
The concern I have with this sleeve is two-fold: it is awkward to put on, as you have to fasten the sleeve after the hooks and eyes are fastened. Secondly, the Velcro fastening and the thickness of the whole sleeve would be very visible under clothing. Nonetheless, it is a good method to stop the itch.
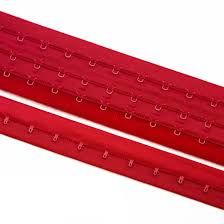
Since the problem is caused by the heat sealing when the hook and eye tape is cut, why not use the hooks and eyes before it is cut and sealed? In other words, cut the tape and finish the top and bottom yourself. Anyone who uses hook and eye tape to make long-line bustiers or strapless bras knows that for these garments, buying a pre-cut set is impossible. Having a length of hook and eye tape at your disposal is very practical.
I start by using a straight stitch, a little less than 1/8″ away from the cut edges. That acts as a good guideline for my upcoming zig-zag. The straight stitch also serves as an early warning if there is metal I might run into. Then, finish the top and bottom cut edges with a zig-zag stitch. The width should be 3-4 mm, and the length should be 1 or even less. The goal is to keep the left swing of the needle (the “zig”) into the fabric, and the right swing (the “zag”) off the fabric so the thread will form a nice wrap over the edge.
This is not my idea, but it’s the best solution I have ever used. It was shared by Linda Crawford (Instagram @uplift_custom_bras) as a solution she used for her clients. It’s a great solution because it doesn’t cost a lot of money, plus it can be done after the bra is finished, so it can be done on ready-to-wear, as well as all the existing hooks and eyes in your drawer. Plus, and it’s a big plus—it is SO darn comfortable! Cut a piece of Cut & Sew padding to a size slightly larger than the hook and eye, which has already been sewn to the bra. Zig-zag it to the back of the hook and eye. Here it is from the wrong side. By the way, this bra is at least 5 years old (pre-COVID for sure) and has been washed a zillion times, so I know the padding doesn’t fray.
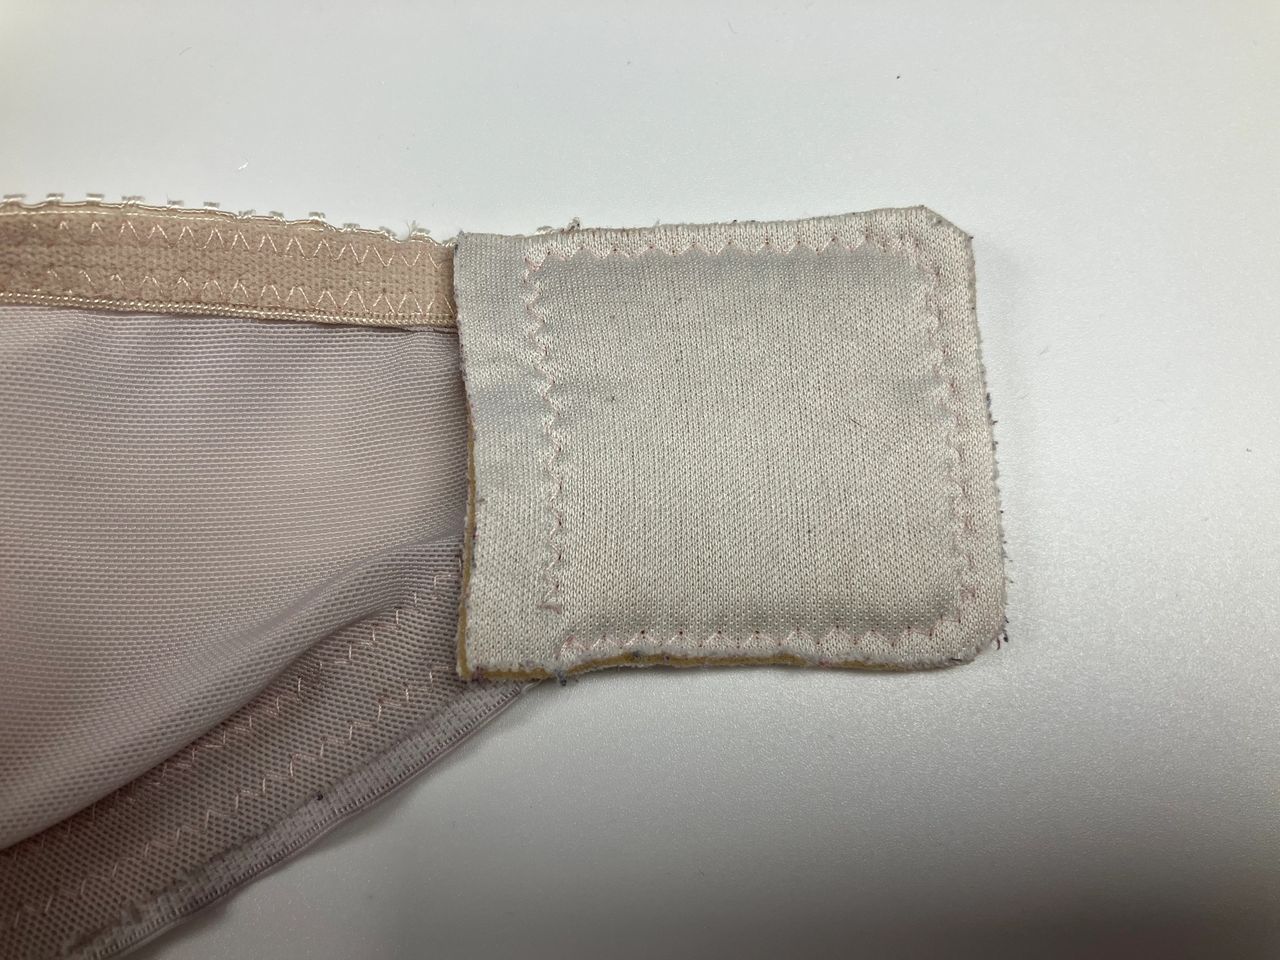
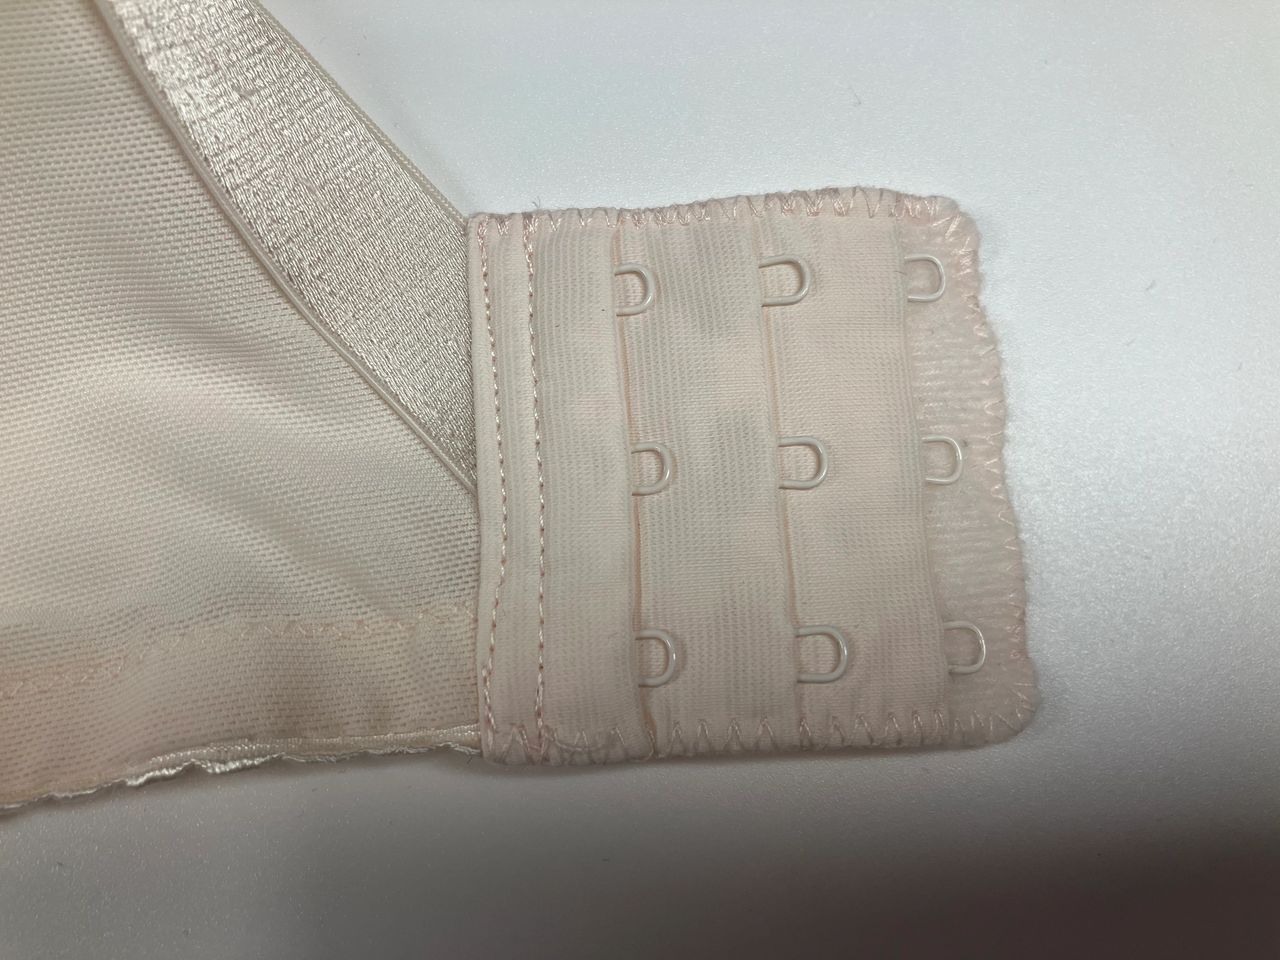
And from the right side. You can see the padding extends past the edge by approximately 1/8″ (3 mm). You don’t need a lot of extension. Did I mention how comfortable it is?
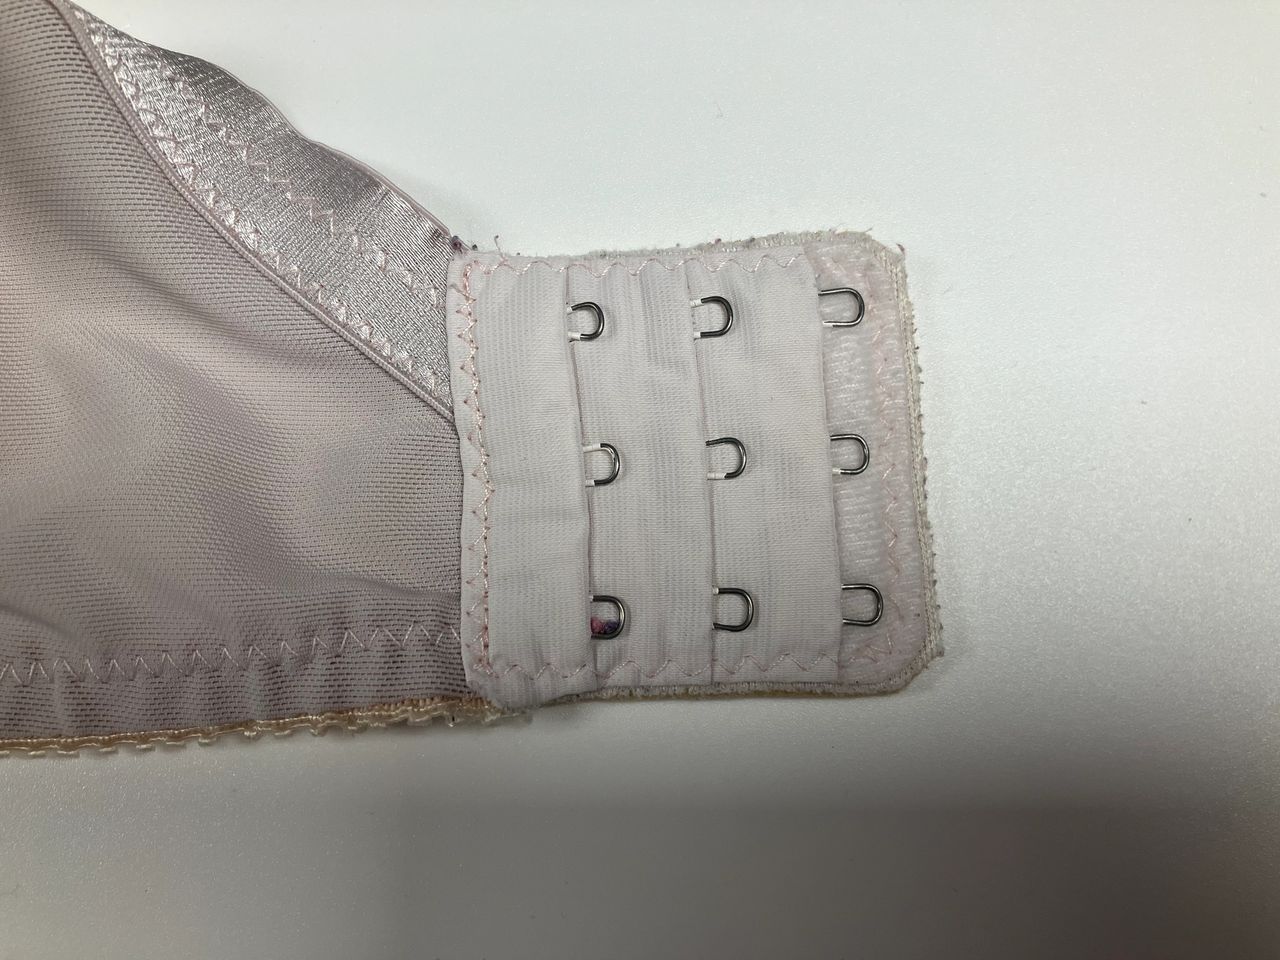
You can use the same zig-zag as I’ve described above on sealed hooks and eyes as well. I have done this for years. You only need the actual zig-zag stitch in this method, since the edges are already sealed. Zig-zag (width 3-4 mm, length 1 mm or less) over the edge so the stitches wrap around. The closer together your stitches are, the better it works, so make the stitch as close to a satin stitch as you can. The stitching lasts the life of the bra – this bra is definitely older, so it has been washed a lot. I use this method when I have no Cut & Sew foam in a matching colour to use behind the hooks and eyes.
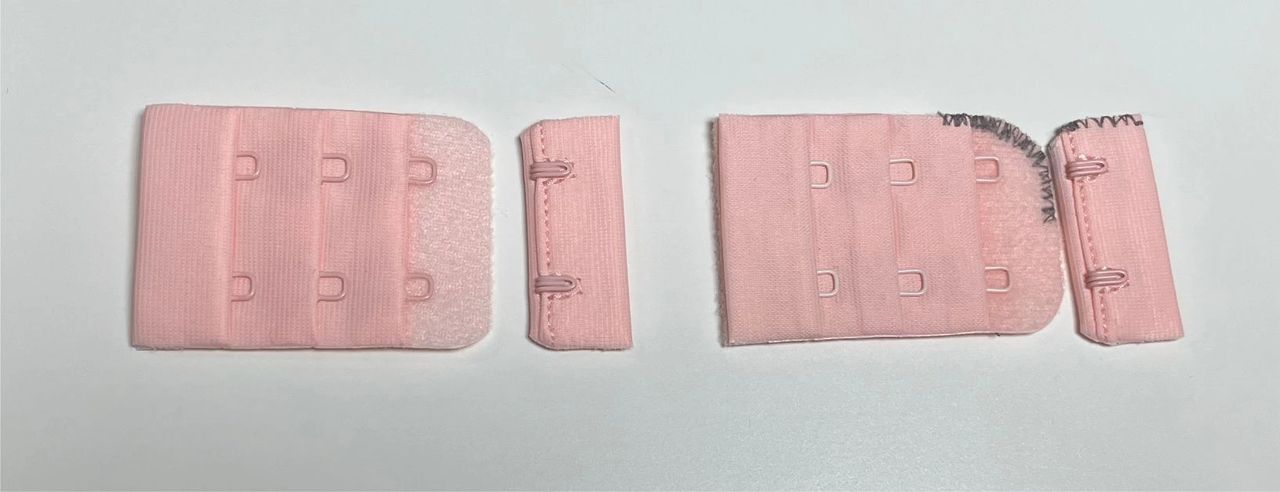
When I first posted this, members of my Facebook group, members were quick to point out that I missed a super quick, no-cost method of stopping the itch. That is, to clip off the corners (just the top or both, as needed) of the hooks and eyes and either leave it as is, or simply zig-zag over it. Now, why didn’t I think of that?
To see my latest pattern classes, please see London – what a great bra this is, with its 6 different and practical support options.