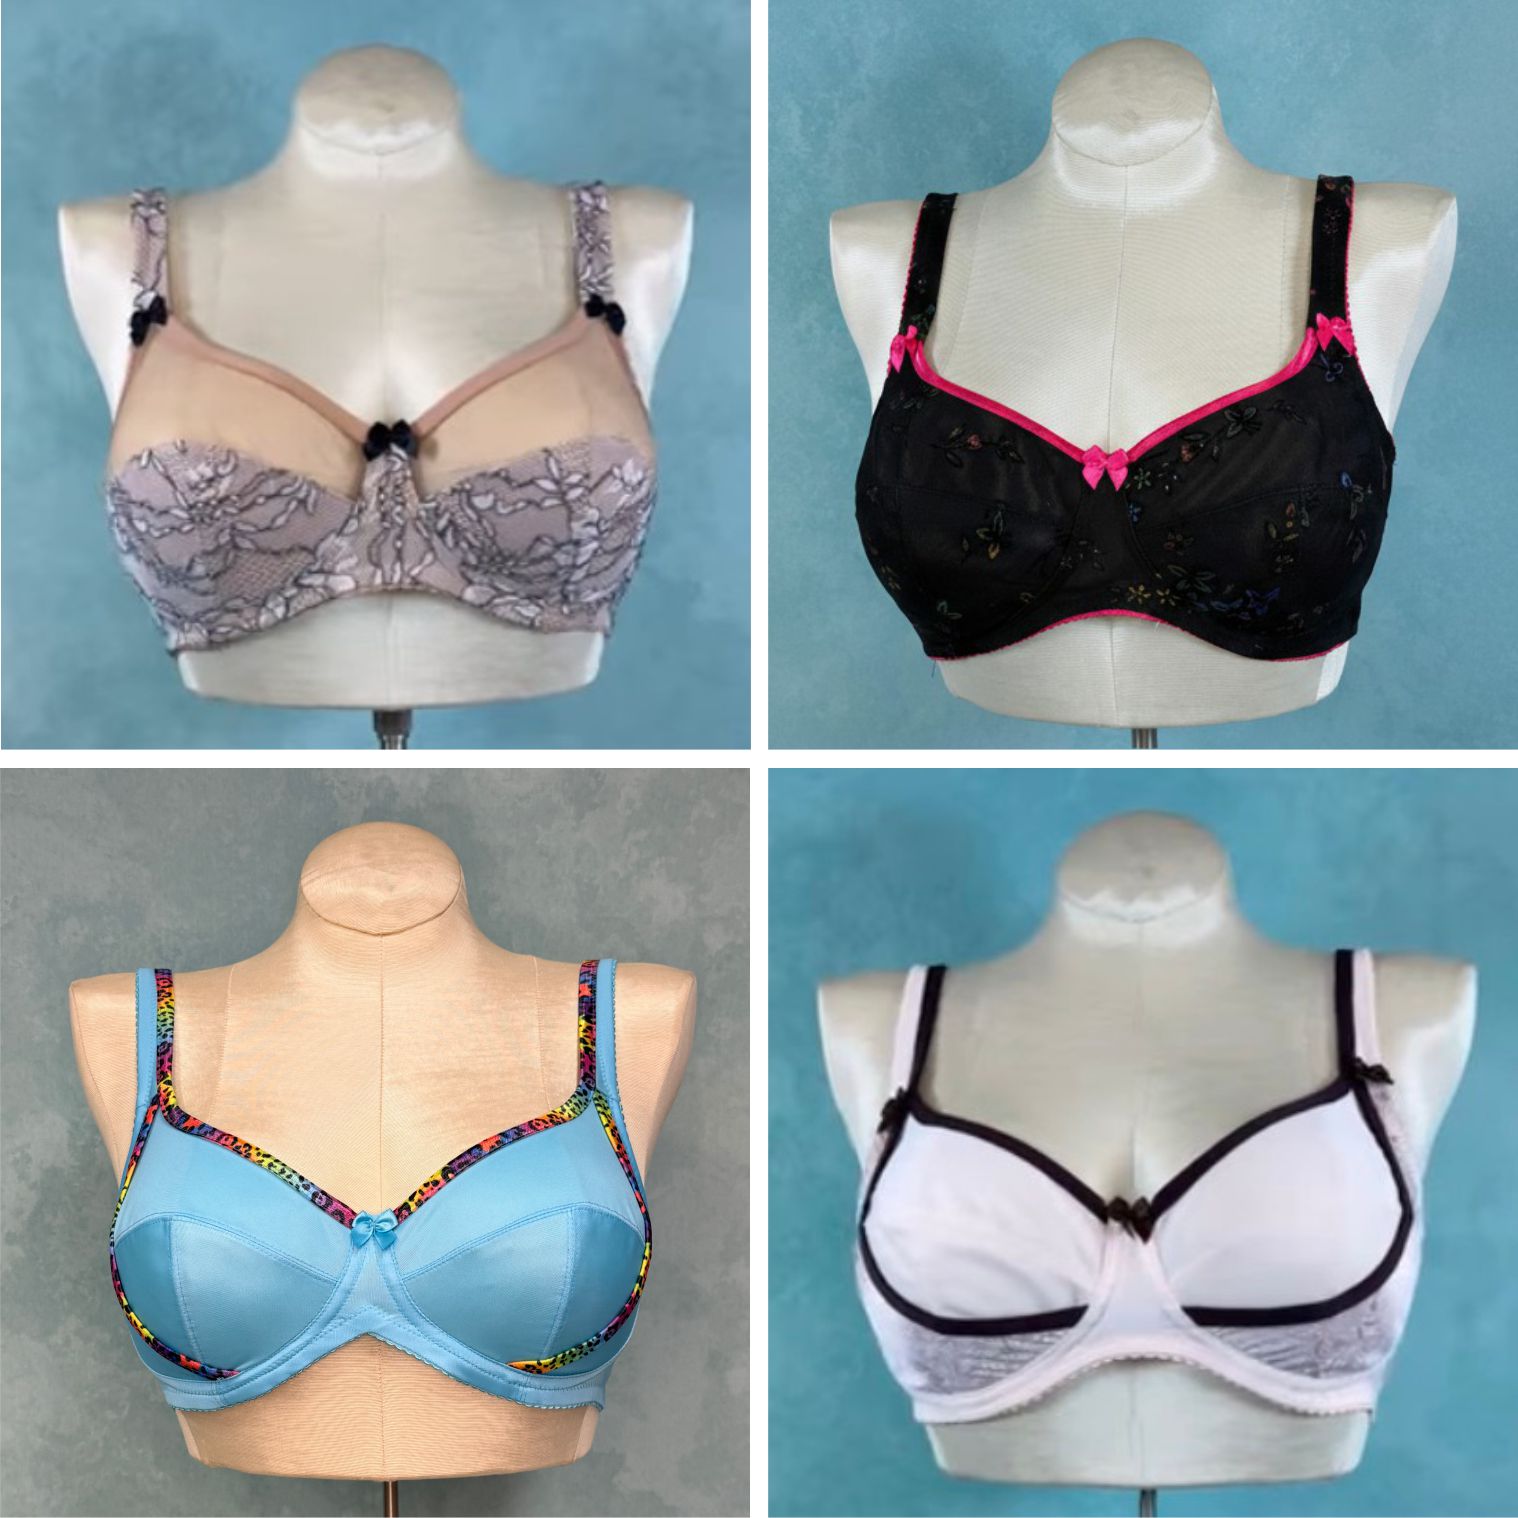

If you’ve ever sewn two bras from the same pattern – in the same size – and wondered why one feels perfect while the other feels… suspiciously tight or oddly loose, let me gently reveal the truth:
It’s not you. It’s the elastic.
Once you understand how bra band elastic stretch and recovery work (we covered that in my previous post), the next step is learning how to adjust the bra band itself so the finished bra behaves the way you intended.
This is where bra making starts to feel less like guesswork and more like quiet competence. Your Fairy Bra Mother approves.
A well-fitting bra band provides shape and support – but elastic determines tension.
Think of the band fabric as the structure and the elastic as the engine. Change the engine, and the performance changes, even if the structure stays the same.
That’s why:
If you want predictable results, the band length must respond to the elastic – not the other way around.
Higher stretch elastic = shorter band
Lower stretch elastic = longer band
Everything else is refinement.
Let’s keep this usable, not theoretical.
If you haven’t measured it yet, pause and do that first. (Your Fairy Bra Mother insists.) Stretch percentage is your decision-making tool. I covered that in my last post.
This may come from:
This is your baseline, not a promise.
Use these guideline ranges as a starting point:
These are not rigid rules. They are educated starting points – and they will already put you ahead of most bra makers.
To adjust a bra band, so the following:
The goal is to maintain the bra’s proportions while changing its tension.
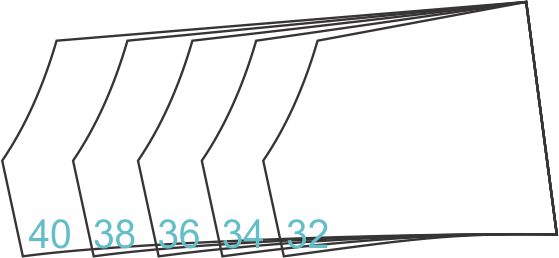
The good news is that in my patterns, you can go up or down a band size (even two if necessary) to get the length you need. Just use one band length larger or smaller than the one you use now. Make sure you label them for firm or soft stretch.
But what happens if you don’t have one of my patterns and their easy-to-adjust bra bands? Here’s a great way to adjust a bra band to make it longer:

The opposite happens in order to adjust a bra band by shortening it:

Even with the “right” band length, how you apply elastic can change the fit.
Two bras, same elastic, different application = two different fits. Ask me how I know.
If you want truly consistent results, sew a band-only test sample:
This lets you evaluate:
It’s a small step that saves a lot of unpicking later.
Once you adjust a bra band based on elastic stretch:
You’re no longer hoping a bra will fit.
You’re engineering it to.
And that’s a very Fairy Bra Mother thing to do.
If you haven’t seen the little video I did on Elastics, it is here.
In the next post, we’ll cover:
How to Test Bra Band Elastic Before You Sew – a quick, repeatable system you can use every time a new elastic enters your sewing room.