
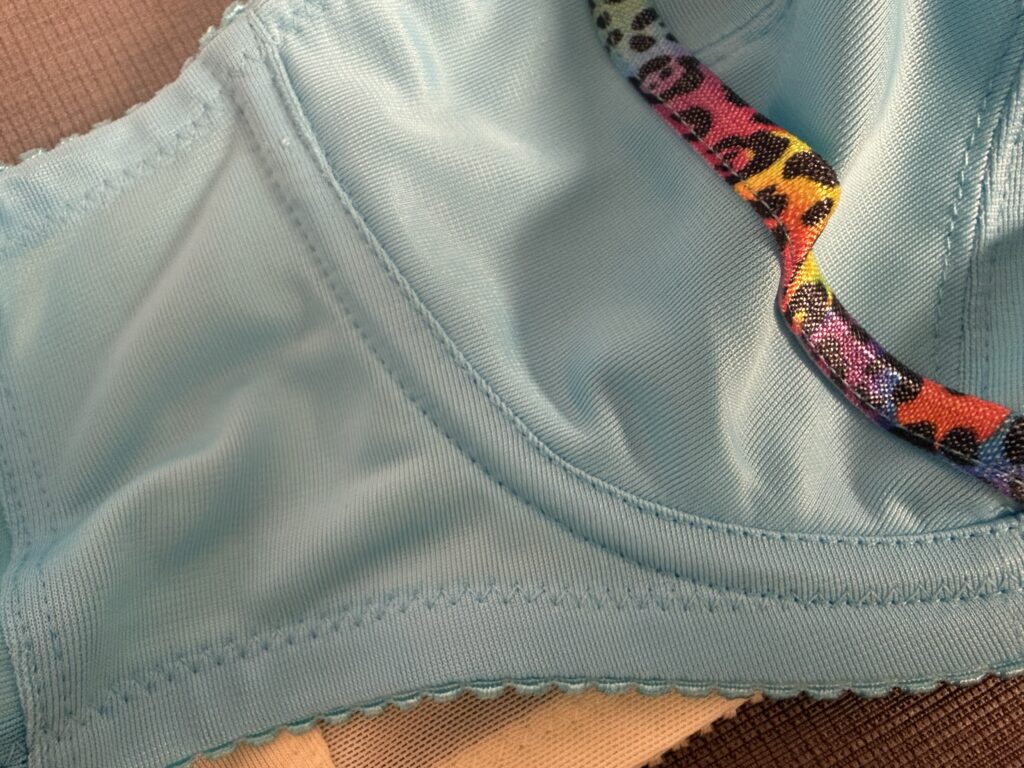
If you are new to bra-making, you might wonder why the designer asks for two rows of topstitching, found on the side seam and the wire line. But why are two lines of topstitching needed…or warranted?
While it might look like a decorative choice, bra construction is actually closer to bridge engineering than standard clothing. Those two lines of topstitching are there because the wire line and the side seam are the highest-stress points of the entire garment.
Here is why one row of stitches just won’t cut it:
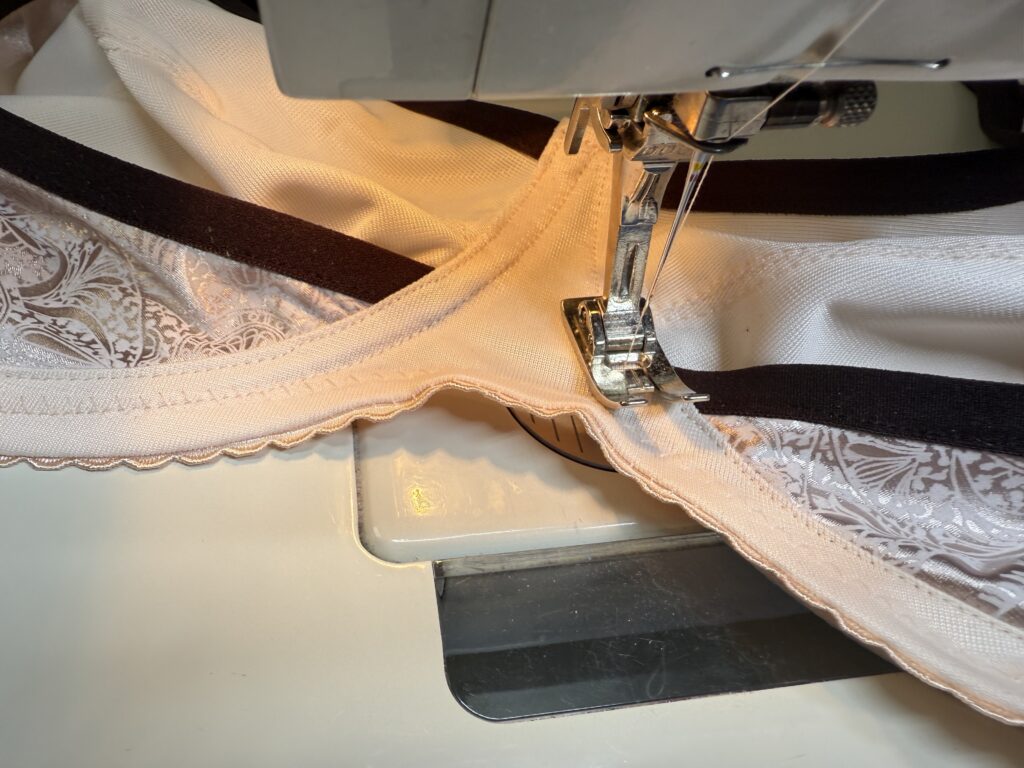
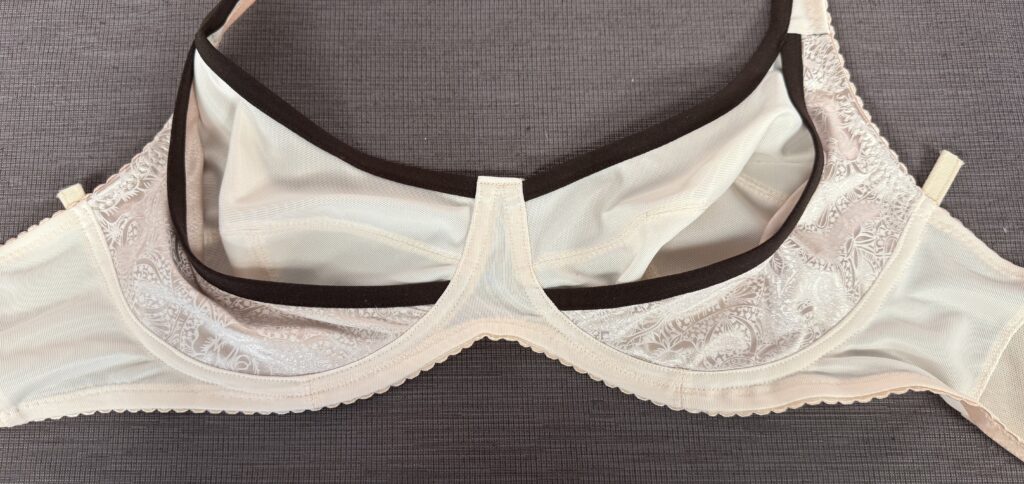
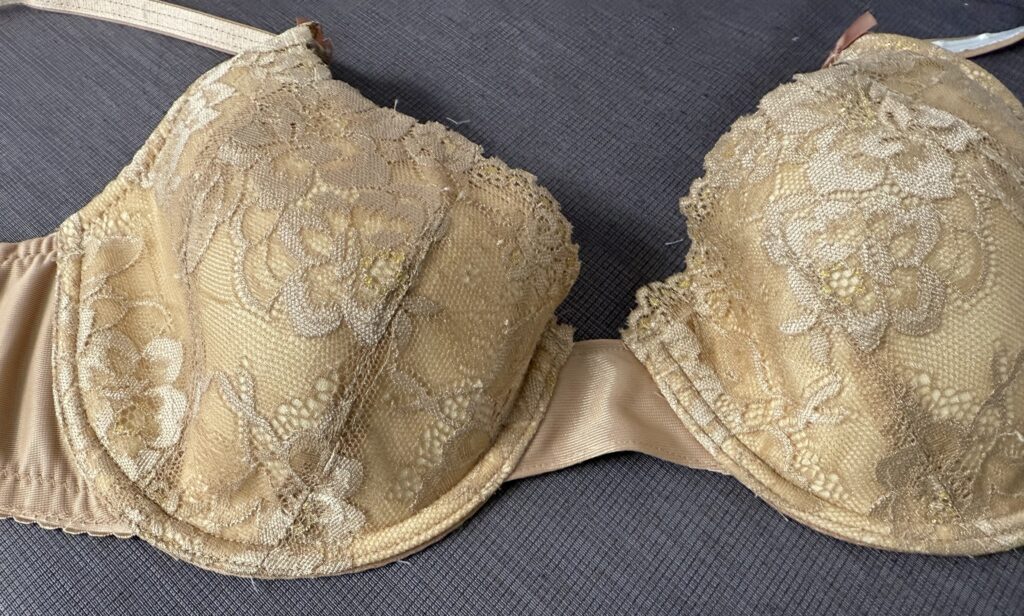
On the cup wire line, you aren’t just sewing two pieces of fabric together. You are also attaching a wire casing (called channeling, a soft, tube the wire slides into). The channeling is attached to the seam allowance around the wire line. But then we add two rows of topstitching. Huh?
Bras are designed to be worn under significant horizontal tension. The seams that take the brunt of the action are the side seams, so it makes sense to sew a reinforced seam.
Because bras are worn so close to the skin, internal seam allowances can be incredibly irritating.
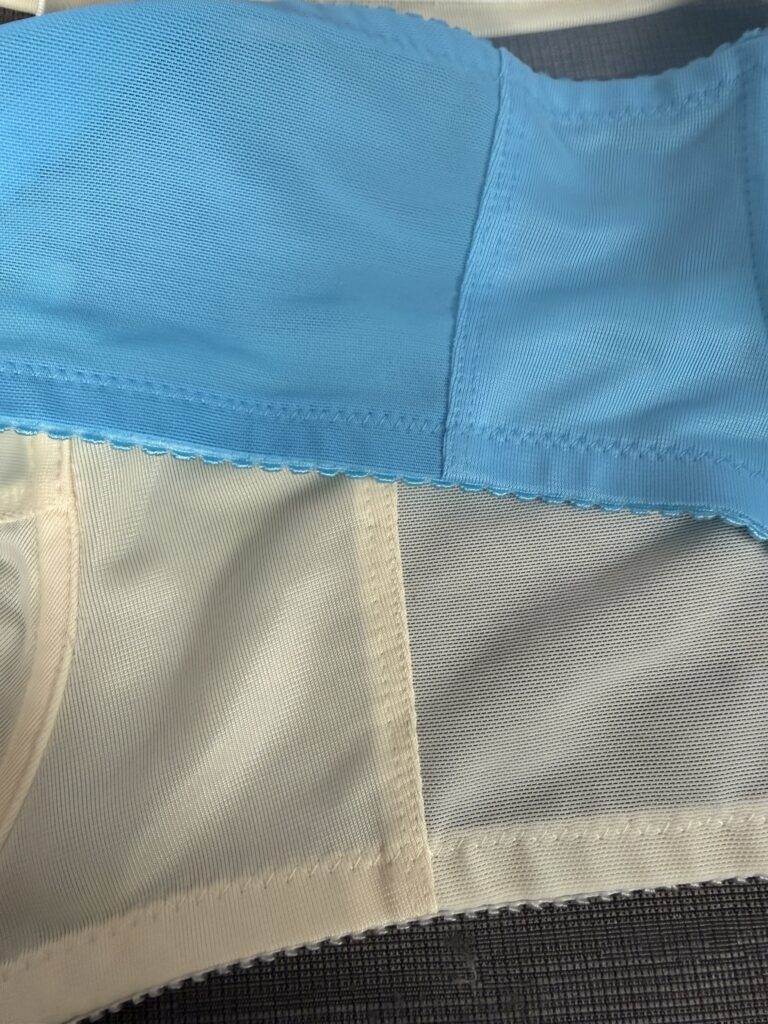
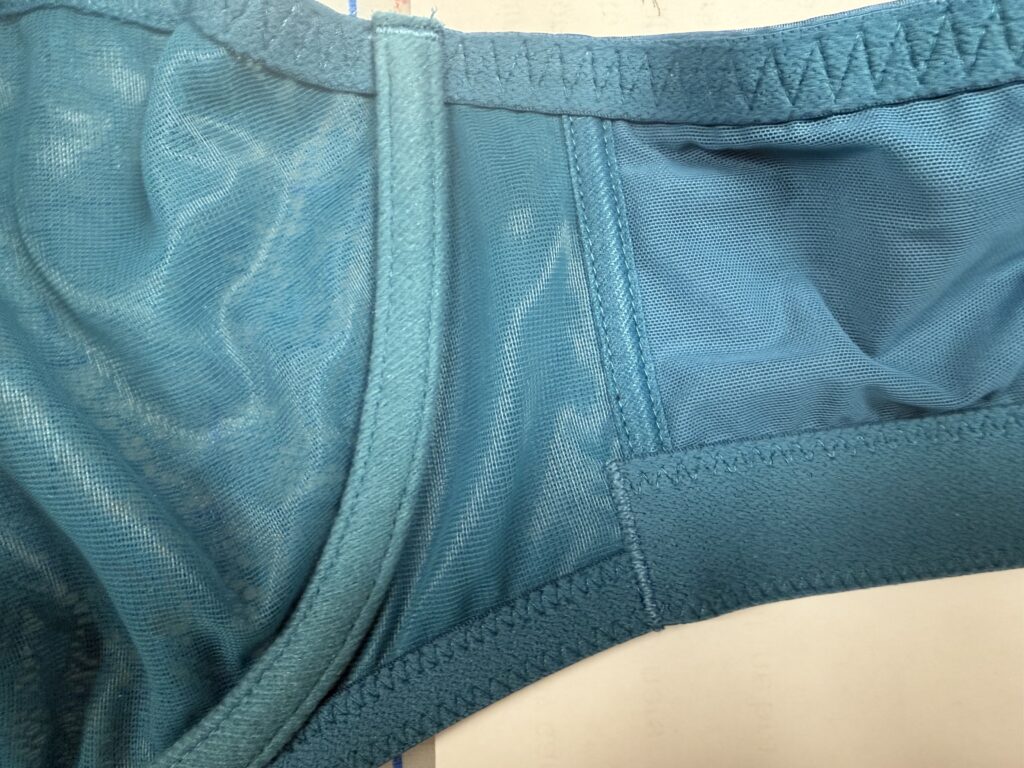
Some ready-to-wear bras have small plastic bones or stays in that side seam to prevent the band from rolling up or bunching. Just like the underwire, this stay needs a casing. The two lines of topstitching hold a pre-make casing to the seam, or by stitching two lines on the felled seam allowances, you can create a narrow pocket that holds the bone without having to buy or make casing. The bone is actually inside the two seam allowances.
| Feature | Why Two Lines? | Benefit |
| Wire Line | Sews the channeling both sides | Holds the underwire in place. |
| Side Seam | Flattens seam allowances | Prevents skin irritation/chafing. |
| General | Distributes the stress on the stitches | Prevents the seam from “grinning” or snapping. |
Here’s a video on that shows how I sew the topstitching and the channeling in a continuous line. and not have thread tails at both ends.